
Opening Words
Hey, DIY enthusiasts! As someone who's gone from knowing nothing to being able to complete various creative projects independently, I really want to share my journey with you all. I still remember how nervous I was when I first picked up a paintbrush, my hands were shaking, afraid of messing up the project. But looking back now, that experience of starting from scratch was incredibly valuable.
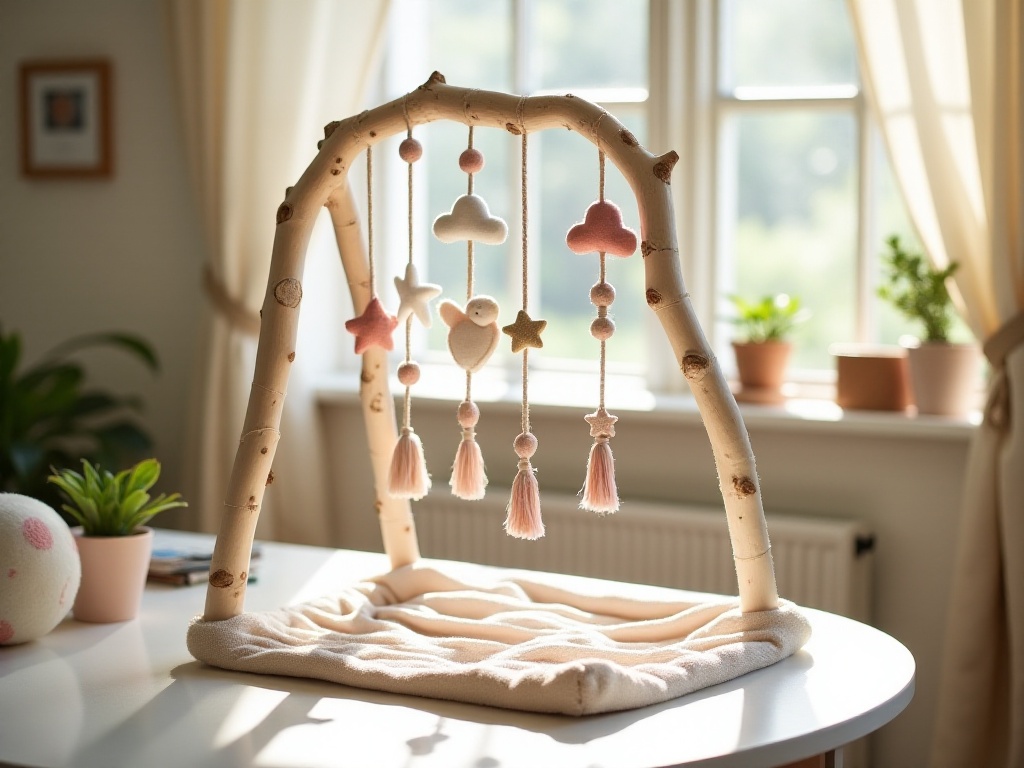
To be honest, I first got into DIY purely to save money. I had just rented a new place and wanted to make it cozy, but the prices of decorations in stores were discouraging. Later, after watching DIY videos online, I thought, "Hey, why don't I give it a try?" After that, I couldn't stop - progressing from simple wall decorations to now being able to design and create baby gyms independently. This gradual improvement really gives you an amazing sense of achievement!
Getting Started
When it comes to getting started, choosing the right difficulty level is crucial. Just like leveling up in games, DIY requires a step-by-step approach. Based on my years of experience, DIY projects can roughly be divided into three levels: Beginner, Intermediate, and Master.
Beginner-level projects mainly include basic decorative items, like painted glass vases and simple paper crafts. I remember when I first tried painting a glass vase, I specifically bought the most basic acrylic paints and a few brushes from the stationery store, spending less than $50 in total. Though the painting was quite rough, my friends all said it was very creative, and that kind of feedback was really heartwarming.
Intermediate projects are a bit more complex and might require some professional tools, like woodworking tools or sewing machines. When I first tried making a fabric sofa cover, I spent several days just learning how to use the sewing machine, failed countless times, but the final product gave me such a sense of accomplishment.
As for master-level projects, these require combining multiple skills for complex works. Like the vintage furniture restoration I'm currently studying, you need to know woodworking, painting, aging techniques, and even some design aesthetics. Although it's challenging, completing each piece gives you that "Wow, I'm amazing!" feeling of pride.
Choosing tools is also an important part of getting started. Unlike what many people think about "the more expensive the better," I believe you should choose based on your skill level and needs. Beginners can totally use basic tools like scissors, utility knives, and glue, which might only cost around $100 in total. You can consider buying more professional tools as your skills improve.
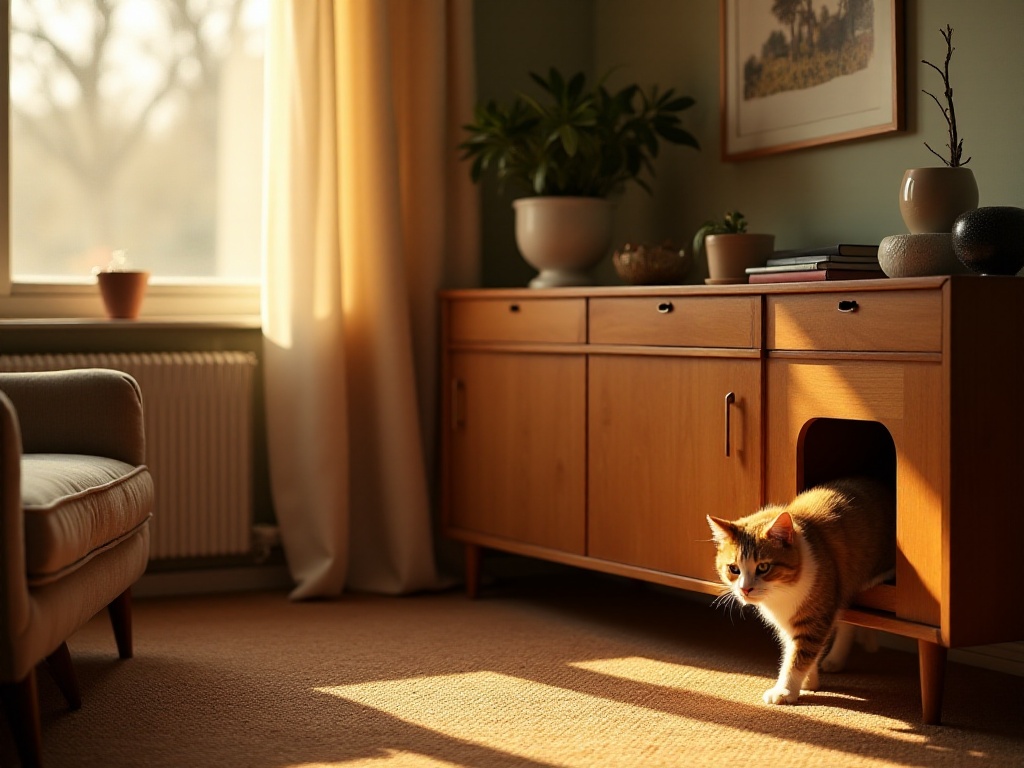
Setting up your workspace is also crucial. I started working on my balcony, but later found the lighting wasn't great, so I cleared out an area in my study specifically for DIY. Remember to prepare a work table that can get dirty, preferably covered with disposable newspaper or waterproof cloth. Tools should be categorized, and materials should be well-organized so you won't be overwhelmed while creating.
Cost Control
Speaking of cost control, it's truly a love-hate topic. The love comes from how DIY can save quite a bit of money, while the hate comes from sometimes buying too many materials on impulse, leading to waste. After years of exploration, I've summarized some money-saving tips.
First is learning to discover usable resources around you. Old clothes, cardboard boxes, glass bottles - these seemingly ordinary items can all become great DIY materials. I once made a huge handmade rug using old T-shirts from home, and aside from buying a few crochet hooks, it barely cost anything. The result was so vintage and artistic that my friends thought it was from a designer store.
Second is learning to compare prices. Many DIY materials have quite different prices through different channels. For example, the acrylic paint I often use might cost $40 per tube in physical stores, but online it might only be $20. However, note that for important tools, it's still recommended to choose reliable brands. Though more expensive, they're more reassuring to use and last longer.
Third is learning to reuse and repurpose. For instance, when making modern farmhouse style decorations, I often use wooden strips. Instead of buying new ones each time, it's better to buy some in bulk and save the extras for next time. Sometimes when a project fails, the materials can be repurposed for other projects.
But note that not everything should pursue the lowest cost. Some projects require proper investment if you want professional-level results. Like a vintage shelf I made before - materials and tools alone cost nearly $1000, but the result was comparable to store-bought items worth $2000-3000, plus it was more unique.
Holiday Creations
Holidays always inspire unlimited creativity. Different holidays have different creative themes, and each holiday can bring new ideas.
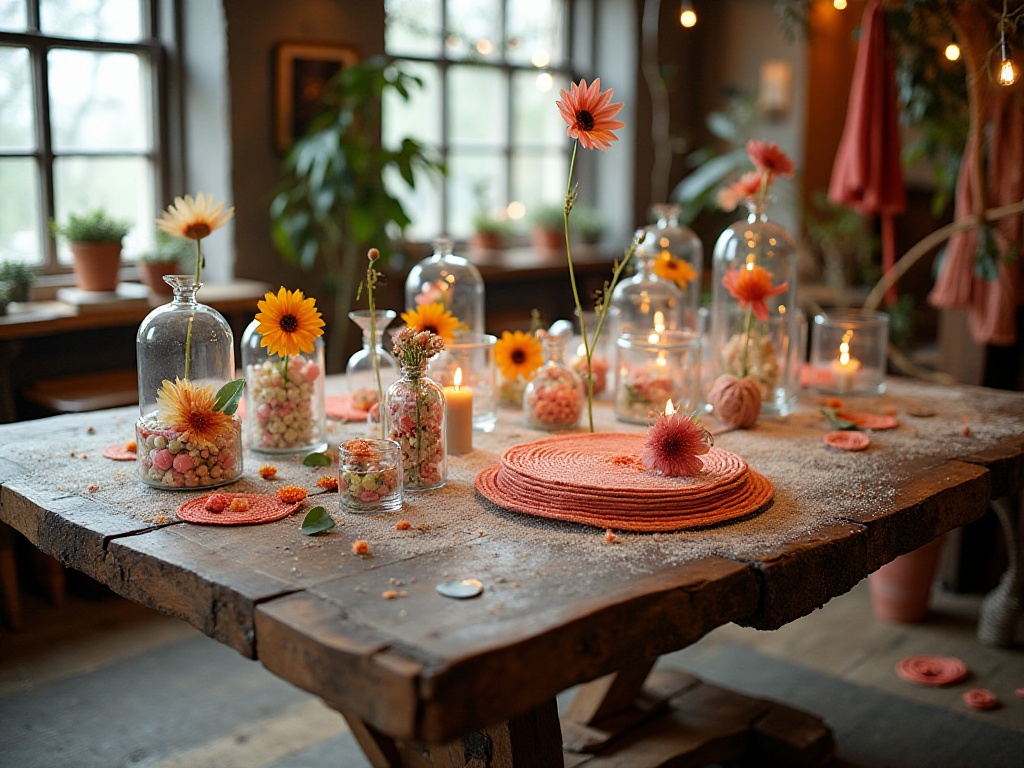
Valentine's Day is definitely a golden period for DIY creation. Last Valentine's Day, I used watercolor paper, dried flowers, and some small decorations to make a super creative 3D card. The card's body was hand-painted with watercolors, decorated with dried flowers around the edges, and the most special part was a mechanism in the middle that would pop up a 3D heart when opened. Though the creation process took quite some effort, seeing the recipient's touched expression made it all worthwhile.
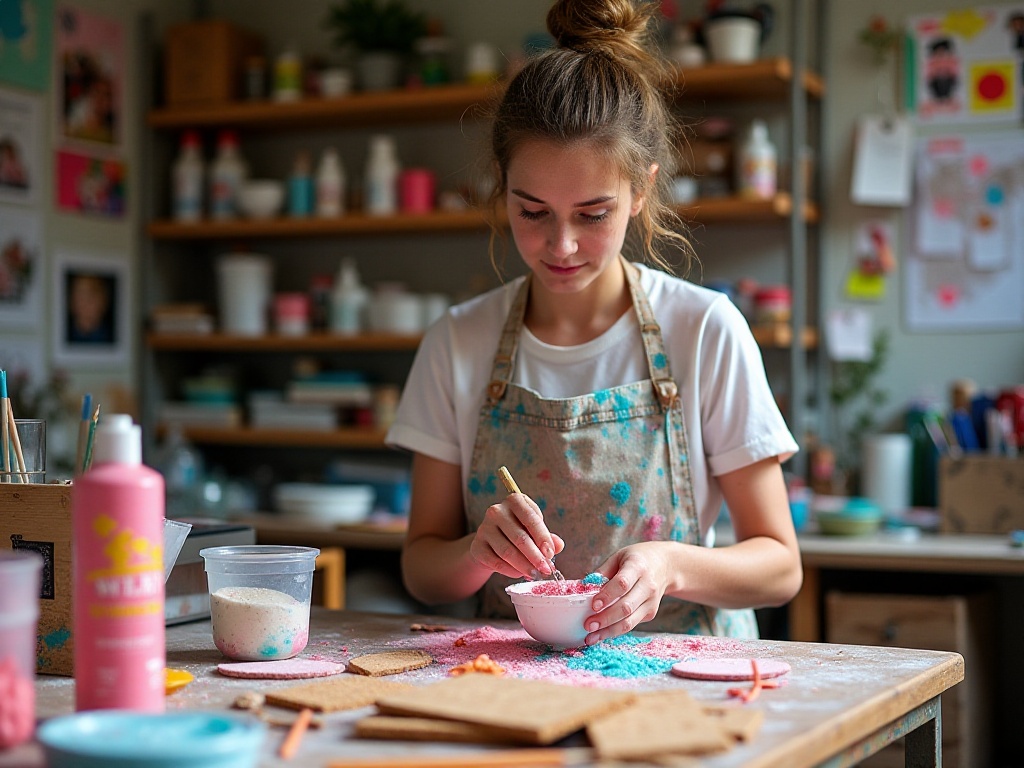
For Easter, egg decoration is definitely a must-do project. Rather than buying mass-produced plastic eggs, it's better to make your own creative ones. Last year, I made a batch of Easter eggs using real eggshells - some painted with watercolors, some decorated with mosaics, and some turned into succulent planters, each one unique. When hung by the window, they looked absolutely beautiful in the sunlight.
Christmas is even more of a DIY carnival. Christmas tree decorations, wreath making, gingerbread houses - there are so many projects it's dizzying. Last year I tried knitting a batch of small Christmas ornaments, including reindeer, snowmen, and Christmas stockings, as Christmas gifts for friends, and the response was fantastic.
Mid-Autumn Festival DIY is also interesting. Besides traditional lantern making, I've developed some new ideas. Like making mooncake model brooches with air-dry clay, or creating moon-themed decorations with resin. These works both capture the festival atmosphere and can be preserved for a long time, truly killing two birds with one stone.
Home Decoration
When it comes to home decoration, this is definitely an area where DIY skills can shine. From small accessories to large furniture, from wall decorations to storage design, DIY can be seen everywhere.
The most basic is creating various small decorations. For example, I particularly enjoy making decorative magnets using epoxy resin molds, adding some small ornaments or dried flowers, creating a particularly fresh and artistic effect. Now my refrigerator is covered with various handmade magnets, each with its own little story, making me feel particularly happy when I look at them.
Wall decoration is also a key area for DIY. I previously made a grid shelf using old wooden strips, which not only solved storage problems but could also be used as a photo wall. Later, I hung some handmade wicker flower baskets on it and added some green plants, immediately bringing the whole wall to life.
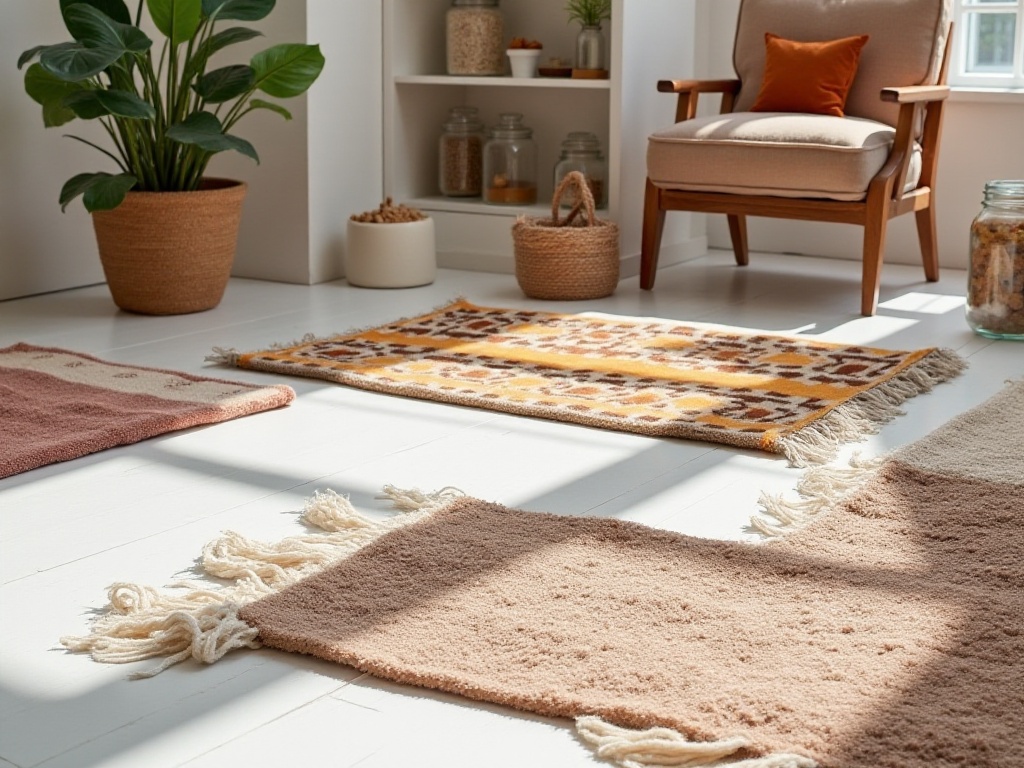
Bedroom transformation is also interesting. I decorated the headboard wall with handmade woven tapestries, which are not only beautiful but also provide sound insulation. The table lamp is made from a transformed glass bottle, decorated with copper wire, casting beautiful light and shadows on the wall when lit.
Tips and Tricks
After talking about so many projects, let me share some practical tips. These are experiences I've gained from countless trials and errors.
First are painting techniques. Whether painting on glass, wood, or fabric, cleaning is the first step. Wiping the surface with alcohol not only removes dirt but also helps paint adhere better. If painting on glass, I recommend sketching with pencil first, so it's easy to erase and redo if you make a mistake.
Decal crafts might look simple, but getting good results takes skill. I personally recommend getting a set of professional decal tools - though they might cost fifty or sixty dollars more than regular tools, they can prevent many mistakes. When applying decals, pay attention to bubble treatment - use a scraper to slowly push from inside out, making the decal more adherent.
For woodworking projects, measurement and cutting are key. Remember the principle "measure twice, cut once" to avoid unnecessary waste. If you're a beginner, I recommend practicing on scrap material before making formal cuts to familiarize yourself with the tools.
Fabric DIY also has some tricks. For example, when sewing, you can use pins to secure the fabric first to prevent warping. For knitting projects, I recommend preparing a dedicated storage box so yarn doesn't get tangled.
Resin work creation needs special attention to environmental factors. If the temperature is too low, the resin won't cure clear enough; if too high, bubbles easily form. I usually work in room temperature between 20-25 degrees Celsius for best results.
Future Outlook
As handicrafts continue to develop, the DIY field keeps innovating. I think future DIY will focus more on environmental protection and sustainable development. Ideas like using biodegradable materials and recycling old items will become more popular.
Technological development will also bring new possibilities to DIY. The popularization of 3D printing technology makes some complex shape creation easier. The emergence of smart tools also makes some difficult crafts more accessible.
However, no matter how technology develops, the core of DIY is still that dedication and creativity. Each work carries the creator's ideas and emotions - that's what makes DIY most fascinating.
To friends who want to start DIY, I want to say, don't be afraid of failure. Remember, every master started as a beginner. Choose projects suitable for your level, slowly accumulate experience, and you'll definitely be able to create works that amaze people.
Finally, I hope everyone interested in DIY can find their own joy in this field. The process of creating might encounter setbacks, but when you see your handmade works, that sense of achievement is irreplaceable. So, are you ready to start your DIY journey?